Microblading vs Microshading: The Difference & Which Is Best For You?
Microblading vs Microshading: The Difference & Which Is Best For You?
If you want to wake up with feathery, full brows every day, tattooed eyebrows are the low-maintenance solution worth considering. Microblading is probably the first procedure that comes to mind when you’re thinking about semi-permanent eyebrows. You might confuse this popular treatment with microshading – another semi-permanent eyebrow tattoo procedure, often recommended for those with more oily or sensitive skin. Both treatments utilize similar eyebrow tattooing techniques with similar prep and after-care instructions. However, it is important to remember that they are sister treatments – each with its own advantages depending on your skin type, upkeep expectations and desired look.
There are many factors that come into play when determining which semi-permanent eyebrow treatment is right for you. Regardless of the option you choose, it’s essential to learn more about how to prepare for your treatment and best practices to aid the semi-permanent eyebrow tattoo healing process. We’ll give you a breakdown of everything to know before and after microblading (or microshading) and what to expect during your appointment.
Read on to learn more about microblading vs. microshading, which option is best for you and what to expect with each treatment.
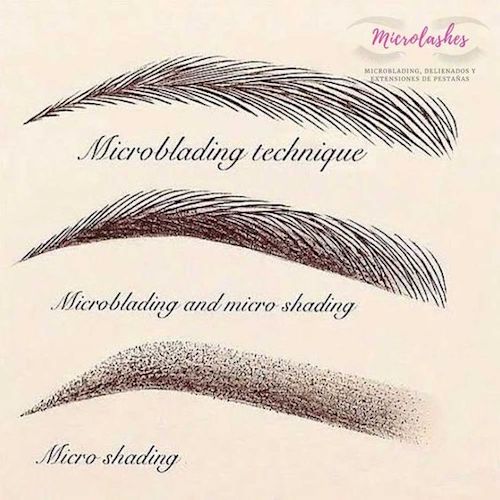
Credit: PMUHub/Pinterest
Microblading vs. Microshading:
Microblading uses several fine needles to manually inject semi-permanent pigment into your brows to create hair-like strokes. This tattooing technique mimics your natural brow hairs to create a soft and natural look. Microshading fills in the brows by piercing countless tiny dots of pigment into the skin using either a manual or electric device. Unlike microblading, microshading appears similar to brow powder and provides a touched-up look that doesn’t wash off. Microblading is best for clients who have dry skin and prefer a more subtle brow (which might not be obvious to the untrained eye). Microshading is preferable for individuals with more oily or sensitive skin or clients who are drawn to a more finished, bold look that appears like a semi-permanent eyebrow pencil. Powder brows is another term used for microshading.
While one might initially sound more appealing, microshading is not often done on its own. This combination of microshading and microblading is called hybrid brows. Typically, hybrid brows consist of microshading with microblading work done towards the front of the brows. This technique is ideal for clients who want a mix of brow definition and natural feathery details or individuals with oily skin who want a more natural look that lasts.
Microblading, microshading and hybrid brows require two sessions. The first appointment is when you get the procedure done. A follow-up session occurs 6-8 weeks after the initial treatment to touch up your brows after the healing process and ensure you leave with your desired results.
Benefits of Microblading
Microblading leaves your brows with a naturally-full look and is a great option for normal to dry skin. If your skin type allows it, microblading is a great introductory treatment to the world of tattooed eyebrows. The more subtle look makes it an approachable choice for beginners and fades slightly more quickly, so you have less of an upfront commitment to sporting your semi-permanent eyebrow tattoo. Microblading might be less painful, too.
Benefits of Microshading
Microshading is great for oily or sensitive skin types and fully defines the shape for a strong brow look. This treatment can also help make your brows more symmetrical - if one is a bit more sparse. Microshading lasts longer on the skin than microblading, too. Its longevity comes down to the difference in technique. With microshading, the pigment is injected deeper into the skin. This application makes the pigment more concentrated with microshading compared to microblading, where a blade drags the pigment along the skin. Essentially, microshading makes your eyebrow pencil obsolete.
How To Prepare For Microblading and Microshading
Most of the preparation includes knowing what to avoid before a microblading or microshading appointment. Make sure not to schedule botox, laser treatments or waxing appointments at least 3-4 weeks before getting a semi-permanent eyebrow tattoo. Don’t use any retinol or skincare with vitamin A on your face for 2 weeks before your session. Also, make sure that you don’t book a facial within 2 weeks of a microblading or microshading appointment. These treatments can make your skin thinner and more sensitive, increasing the chance of tearing or bleeding during the procedure.
Stop tweezing your eyebrows one week before your session. For the last 48-72 hours before the procedure, stay out of direct sunlight (no tanning, of course) and take caffeine, alcohol, aspirin, ibuprofen and fish oil supplements out of your routine. These activities and products can dehydrate your skin, giving it a thinner texture and leaving you more vulnerable to bleeding or skin irritation during the microblading healing process.
What To Expect During Your Microblading or Microshading Appointment
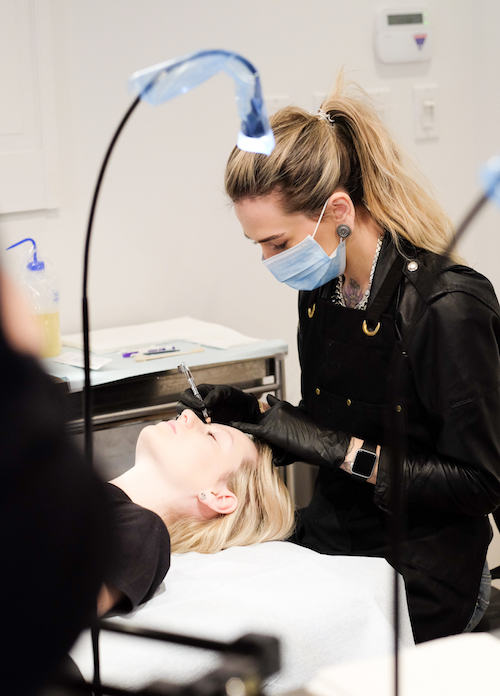
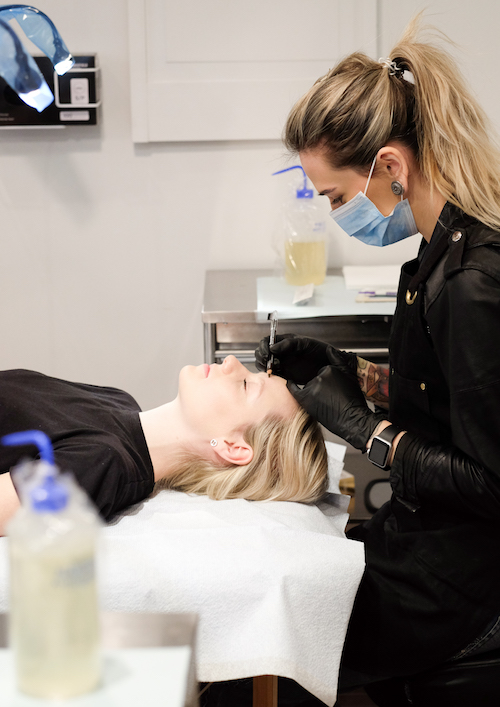
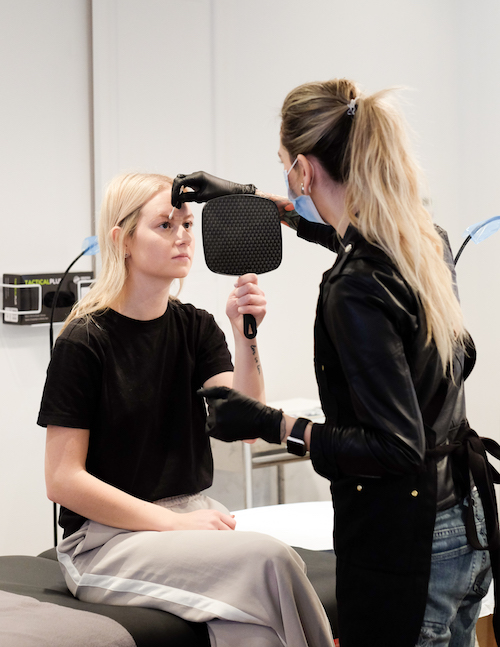
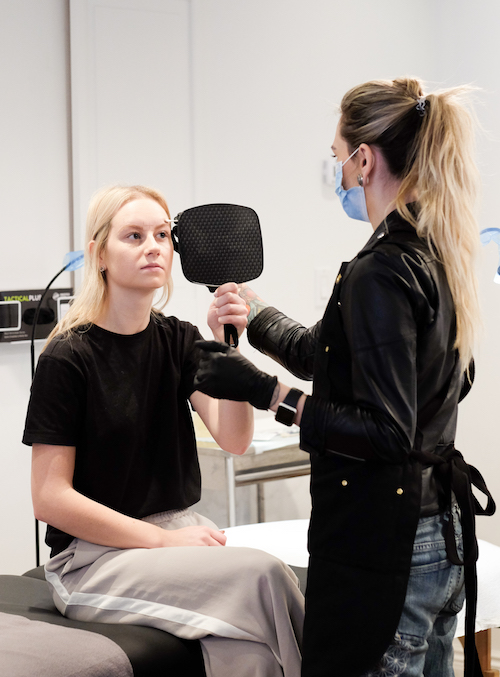
While the devices used may differ, the general structure and length of your appointment should be similar whether you decide to get a microblading, microshading or hybrid brow treatment. The entire process should take around 2-3 hours, from your initial consultation to completion. For the first 45-60 minutes, your microblading expert will complete an intake to discuss your lifestyle, makeup and skincare routines, desired results and any concerns you have about the procedure.

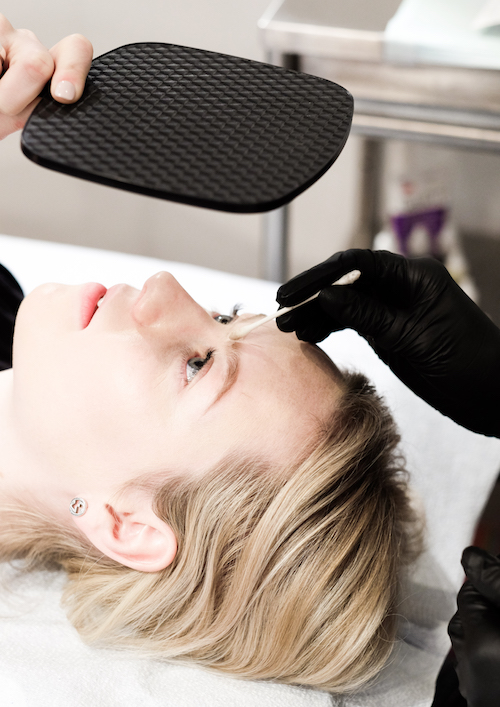
Your microblading expert will draw the new shape for your brows to guide the microblading (or microshading) process while speaking to you. Next, the artist will apply a topical anaesthetic on your brows once you’re happy with how the intended shape looks. The numbing cream stays on until right before the treatment begins. Your expert will usually focus on one brow at a time – wiping the numbing cream off one brow, microblading it and then repeating the same steps for the other brow. The procedure itself should last around 45 minutes.
Pain During Microblading or Microshading
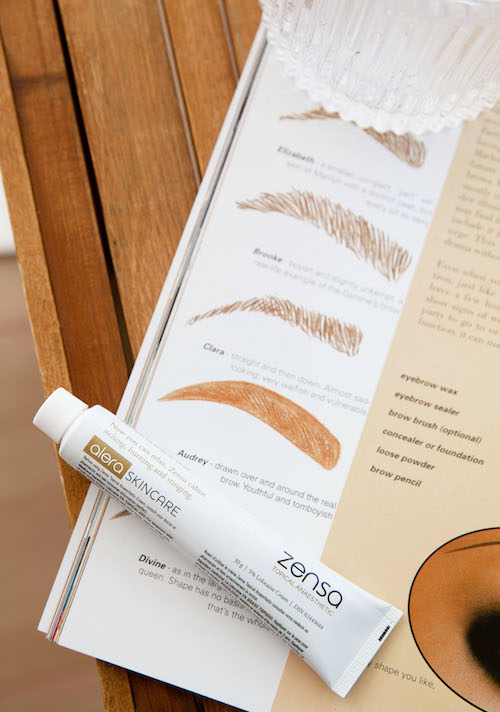
While not all, most professionals use a topical anaesthetic cream to numb before microblading or microshading. The numbing cream will be applied after your expert draws on your future brow shape and left on for enough time for its effects to kick in. Zensa Numbing Cream should be left on for 20-25 minutes before permanent makeup procedures. It contains 5% lidocaine to block pain receptors in the area during the eyebrow tattooing process and does not contain vasoconstrictors that would affect ink settling.
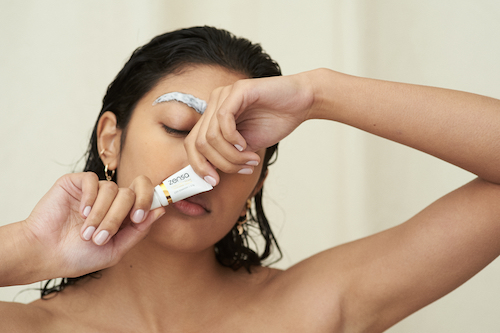
When speaking to Byrdie about eyebrow tattooing, Shaughnessy Otsuji, founder of Studio Sashiko, shared that "a topical anesthetic, such as Zensa, will be used to ensure a relaxing experience and to reduce any irritation.”
If applied properly, a product like Zensa Numbing Cream should make your microblading experience nearly pain-free (unless you’re part of the 5-10% of people who have a genetic mutation that reduces or takes away your response to topical anaesthetics). “We often see clients become so relaxed that they fall asleep during the procedure!” Otsuji shared when speaking with Hypebae about nano brows, a similar form of cosmetic eyebrow tattooing.
The sensation often feels like plucking your eyebrows, waxing or scratching. Take a deep breath and try not to focus on the needles if you start to feel any nervousness or discomfort.
Microblading and Microshading After-Care
The same best after-care practices apply for both microblading and microshading. Microshading (and microblading) healing process takes around 4 weeks or a month before the area is fully healed. Proper after-care is essential to help you achieve your desired results and avoid skin irritation or infection.
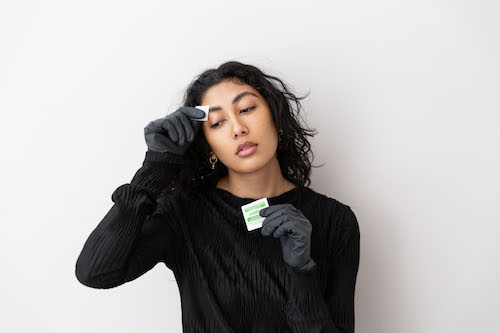
Several hours after the procedure, lightly dab your brows with some water on a cotton pad or ball a few times for the remainder of the day. This practice will help to minimize scarring during the healing process and remove excess pigment.
Your brows are the most vulnerable to irritation and may look red or slightly bruised the first 7 days after microblading. For the first week, cleanse your brows twice a day with mild antibacterial soap and lukewarm water. Gently pat dry with a fresh paper towel. Always wash your hands before cleaning your brows and don’t touch them when you’re not performing this cleaning routine.
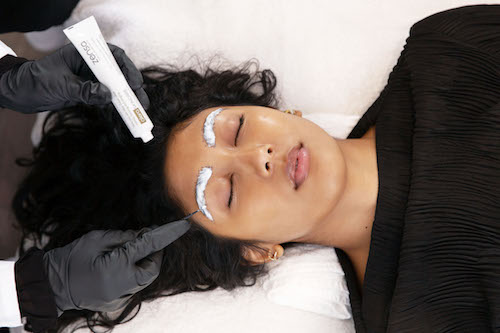
Follow up the cleansing step by applying a healing lotion or ointment made for permanent makeup or tattoo after-care. Zensa Healing Cream contains calendula oil and grapefruit oil (reduce irritation and accelerate healing), sunflower seed oil (to brighten your tattoo and preserve the original pigment colour) and shea butter and cucumber extract to soothe and hydrate your freshly tattooed eyebrows.
Do not exfoliate the skin or use acid-containing cleansers, retinol or glycolic acid skincare products for 14 days after microblading.
Schedule your follow-up appointment 6-8 weeks after the microshading or microblading procedure, so you get can any necessary touch-ups once the skin is fully healed.
What To Avoid After Microblading (or Microshading)
Stay out of the sun and avoid exercising, swimming saunas, hot showers and any other sweat-promoting activity for at least 7-10 days after microblading. Make sure to have fresh pillowcases to sleep on during the few days after microblading. Avoid picking and scratching your brows, and don’t use any cosmetic products (including makeup or skincare) on or near the area for 2 weeks following the procedure. After 14 days, you can go back to your normal routines except for using retinol and glycolic acid-containing skincare or getting any laser treatments and chemical peels. Avoiding direct sun exposure helps the pigment last longer in-between microblading and microshading season.
Microblading and Microshading FAQs & Quick Facts:
How much does microblading cost?
Microblading costs, on average, around $500 - $2,000. Both the first and follow-up sessions are typically included in the price. The cost of microblading varies greatly among artists, depending on your location, local competition, your expert’s experience and the atmosphere of the studio you choose.
How much does microshading cost?
There’s nearly no difference in price between microblading and microshading services. While uncommon, microshading services will likely be the pricer option between the two. Microshading treatments typically cost anywhere from $500 - $2,000, with both sessions included. Like with microblading services, the cost of your treatment can drastically differ depending on your artist’s expertise, location and studio choice.
How long does microblading last?
Microblading treatments last between 12-18 months without any touch-ups, depending on your lifestyle, skincare and makeup habits and skin type. For some individuals, microblading treatments can last up to 3 years.
How long does microshading last?
Microshading treatments last between 1-3 years, with an average of 2-3 years before touch-ups are needed. Your lifestyle, skin type and skincare habits will all play a role in how long the pigment from your microshading lasts.
