Here's What To Know Before Your First Microblading Session
Here's What To Know Before Your First Microblading Session
Thanks to this beauty treatment, mastering a sharp and fuller brow look requires less maintenance than you think. Microblading is a semi-permanent makeup treatment that injects ink into the top layer of your skin (epidermis) with several micro-sized needles. This process creates hair-like strokes that don’t need to be drawn on or touched up regularly.
Whether you have sparse spots or brows on the slender side, microblading offers a fairly simple and lasting solution without a lifelong commitment. With that said, there are a lot of important factors to know before booking your first appointment. Read on to discover what to know about the procedure itself, your eligibility and best prep or aftercare practices.
Microblading vs Eyebrow Tattooing
Unlike a traditional tattoo, injectable semi-permanent ink will eventually dissolve away. The preparation, treatment protocols and best aftercare for microblading and standard tattooing are similar. However, there are several key differences between the ink and injection methods used for the two procedures. Microblading ink is less concentrated than its permanent counterpart. This softer hue allows the brush strokes to appear more natural than traditionally tattooed brows to mimic real hair follicles.

How Long Does A Microblading Treatment Last?
Most microblading treatments last between 1-3 years, depending on your skin type and lifestyle habits. Those with oily skin likely will need less time between touch-ups (usually closer to 12 months) than individuals with drier skin types (typically around 18 months or more). Staying out of the sun and refraining from using harsh exfoliating products also increase the longevity of your brow treatment between touch-ups.
Preparing For A Microblading Session
For those who get regular skin and hair removal treatments, you might need to plan for your microblading appointment weeks in advance. It is advised to avoid botox, laser treatments and waxing for around 3-4 weeks before getting your brows inked.
To prepare for your appointment, refrain from using retinol or Vitamin A-containing skincare or booking a facial within two weeks. Make sure not to tweeze your eyebrows within the week before your microblading treatment. These regimens can make the skin more sensitive and give it a thinner texture. This result can leave the skin more vulnerable to tearing and bleeding during the microblading process.
Similarly, for the 48-72 hours leading up to the procedure, do not expose your skin to direct sunlight or tanning or consume caffeine, alcohol, aspirin, ibuprofen and fish oil supplements. These naturally occurring chemicals can dehydrate your skin and leave it more vulnerable to bleeding during the treatment or skin irritation during the healing process. The medications and supplements listed above are known to have blood-thinning effects and can hinder your recovery journey.
Do not exercise the day of your microblading appointment and avoid any other sweat-inducing activities.
Aside from medical precautions, it is helpful to browse for any brow inspiration photos. You can either keep these images in mind for your appointment or bring them along with you to allow the expert to visualize your ideal look.
What To Expect At Your Appointment
Ahead of your appointment, you should schedule an initial consultation for a patch test to ensure you won’t have an allergic reaction to the semi-permanent ink.
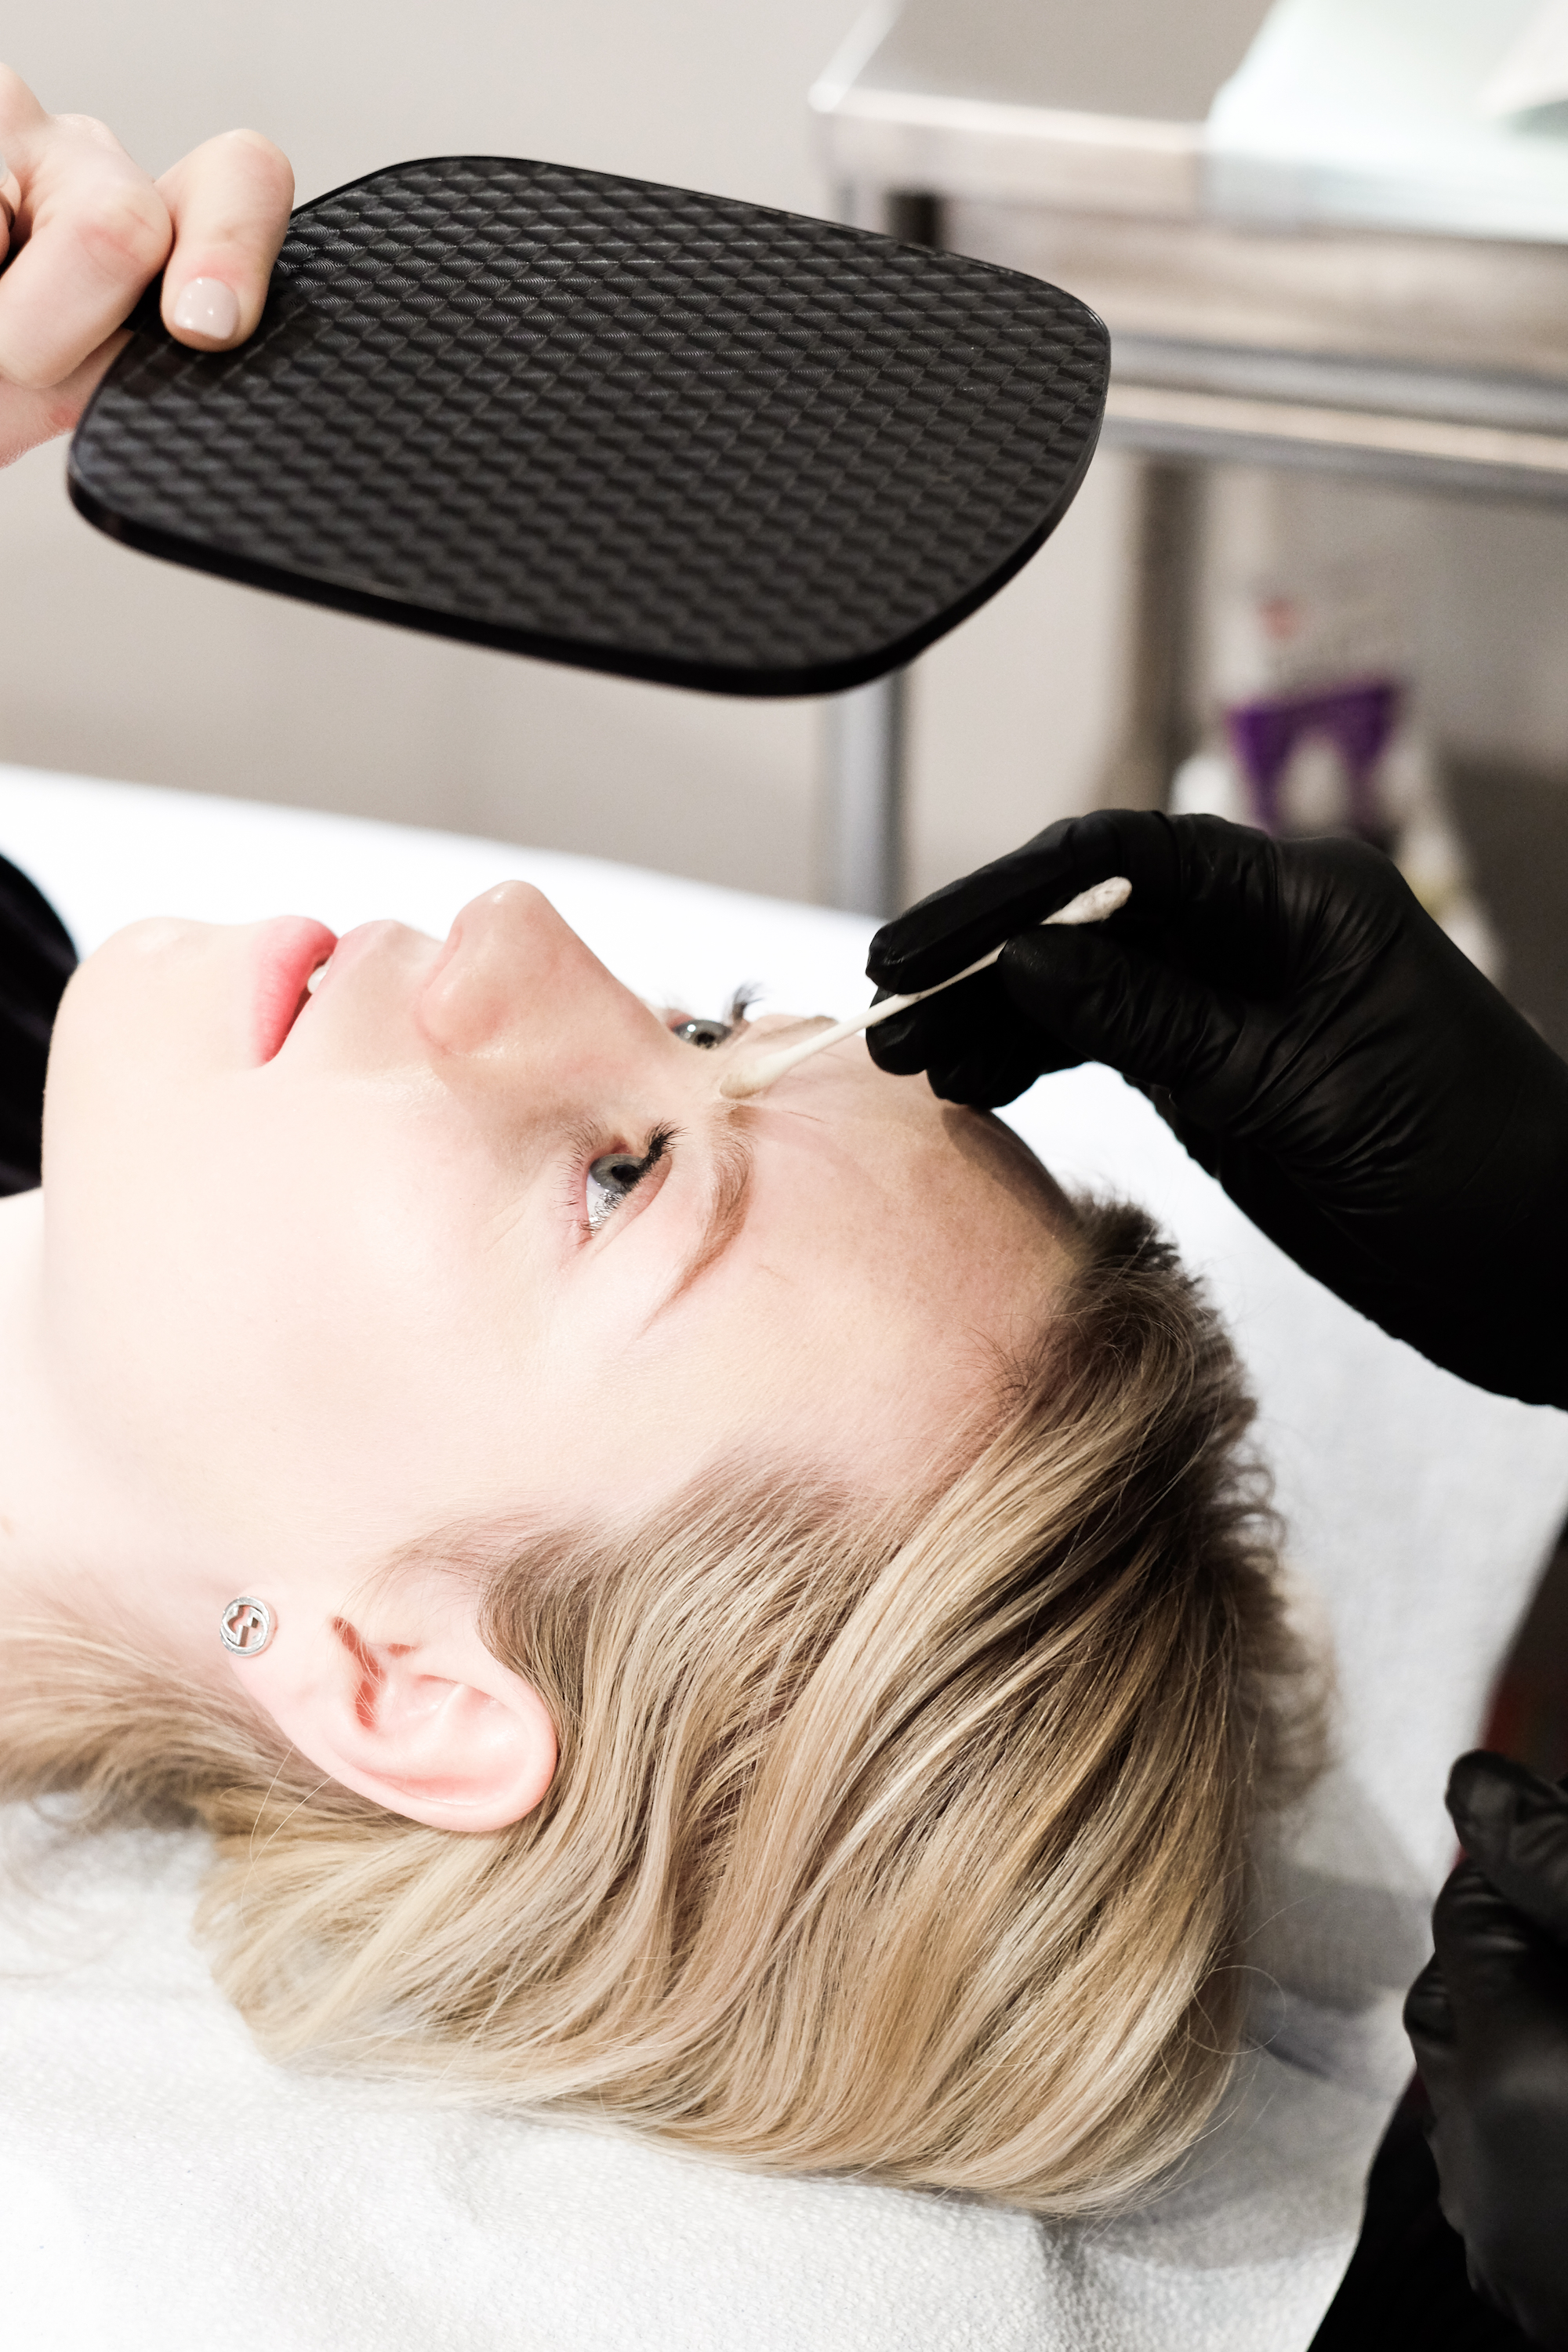
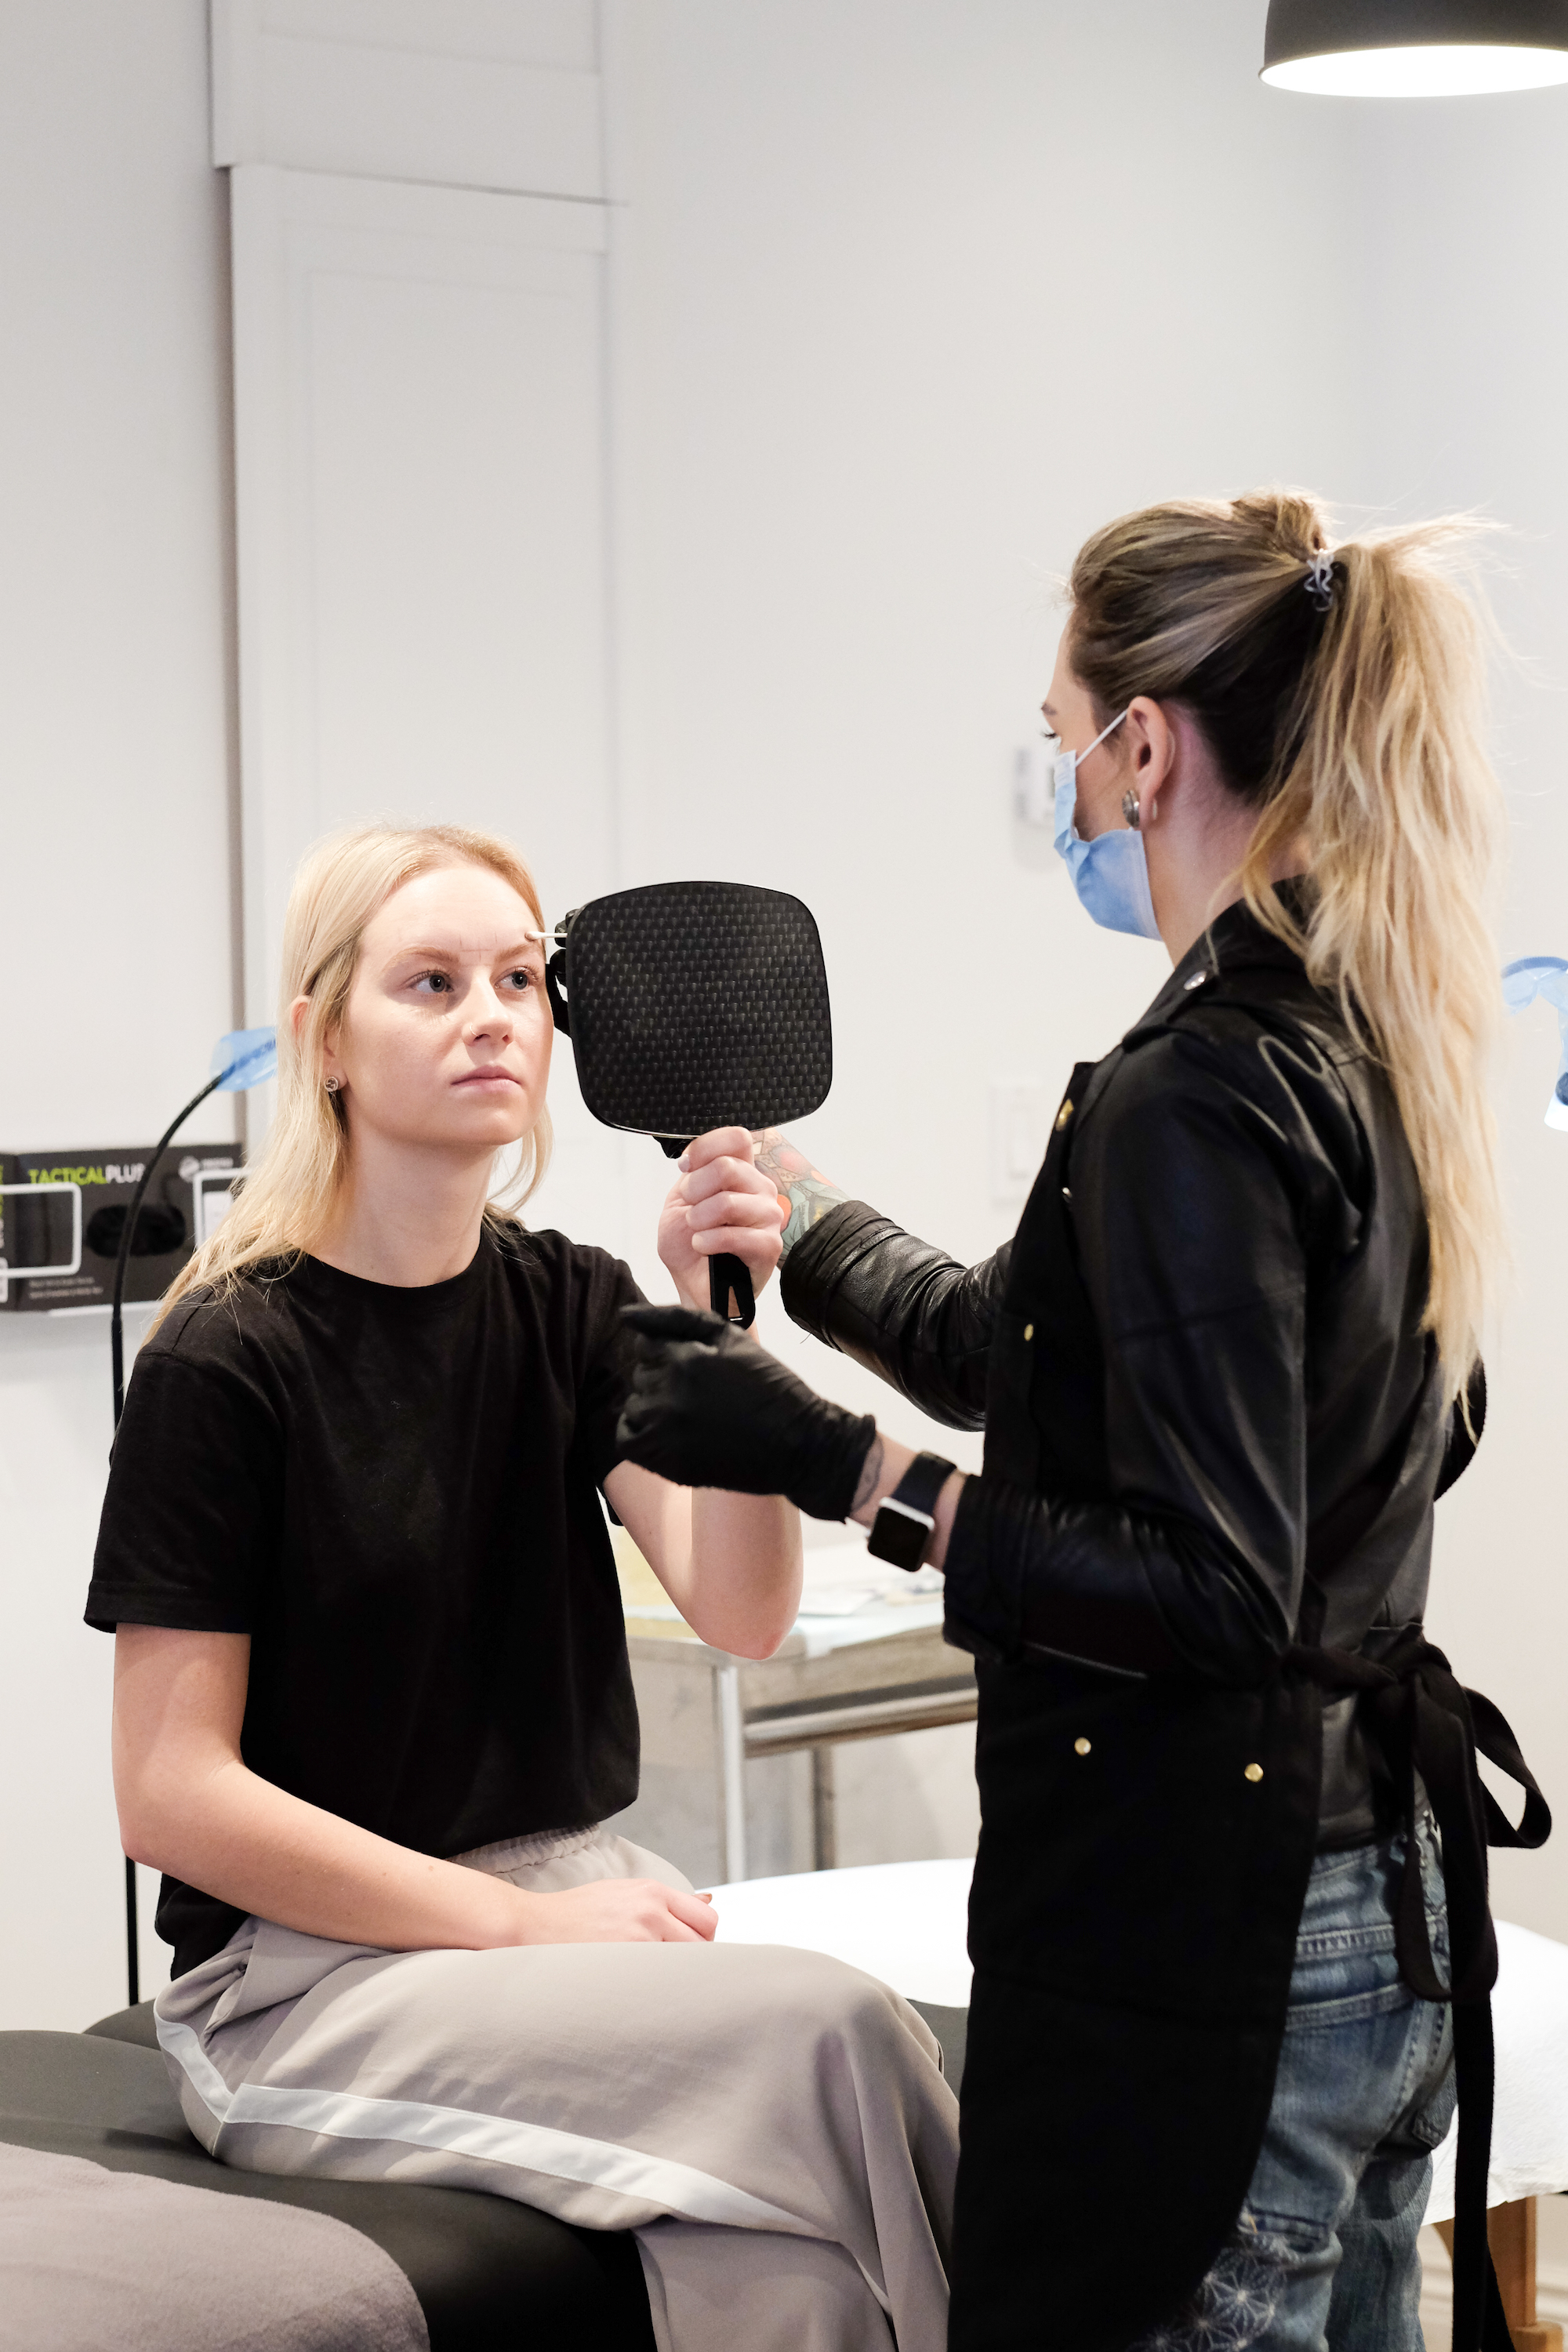
The entire process should take 2-3 hours from start to finish. During the initial stage of the appointment, your expert will interview you to discuss your current brow frustrations, lifestyle, and ideal brow shape. Next, the technician will take this information to draw a mock-up of the microbladed brows with a pencil to ensure you will be satisfied with the final results. The expert will also mix a custom colour to create your desired final look.
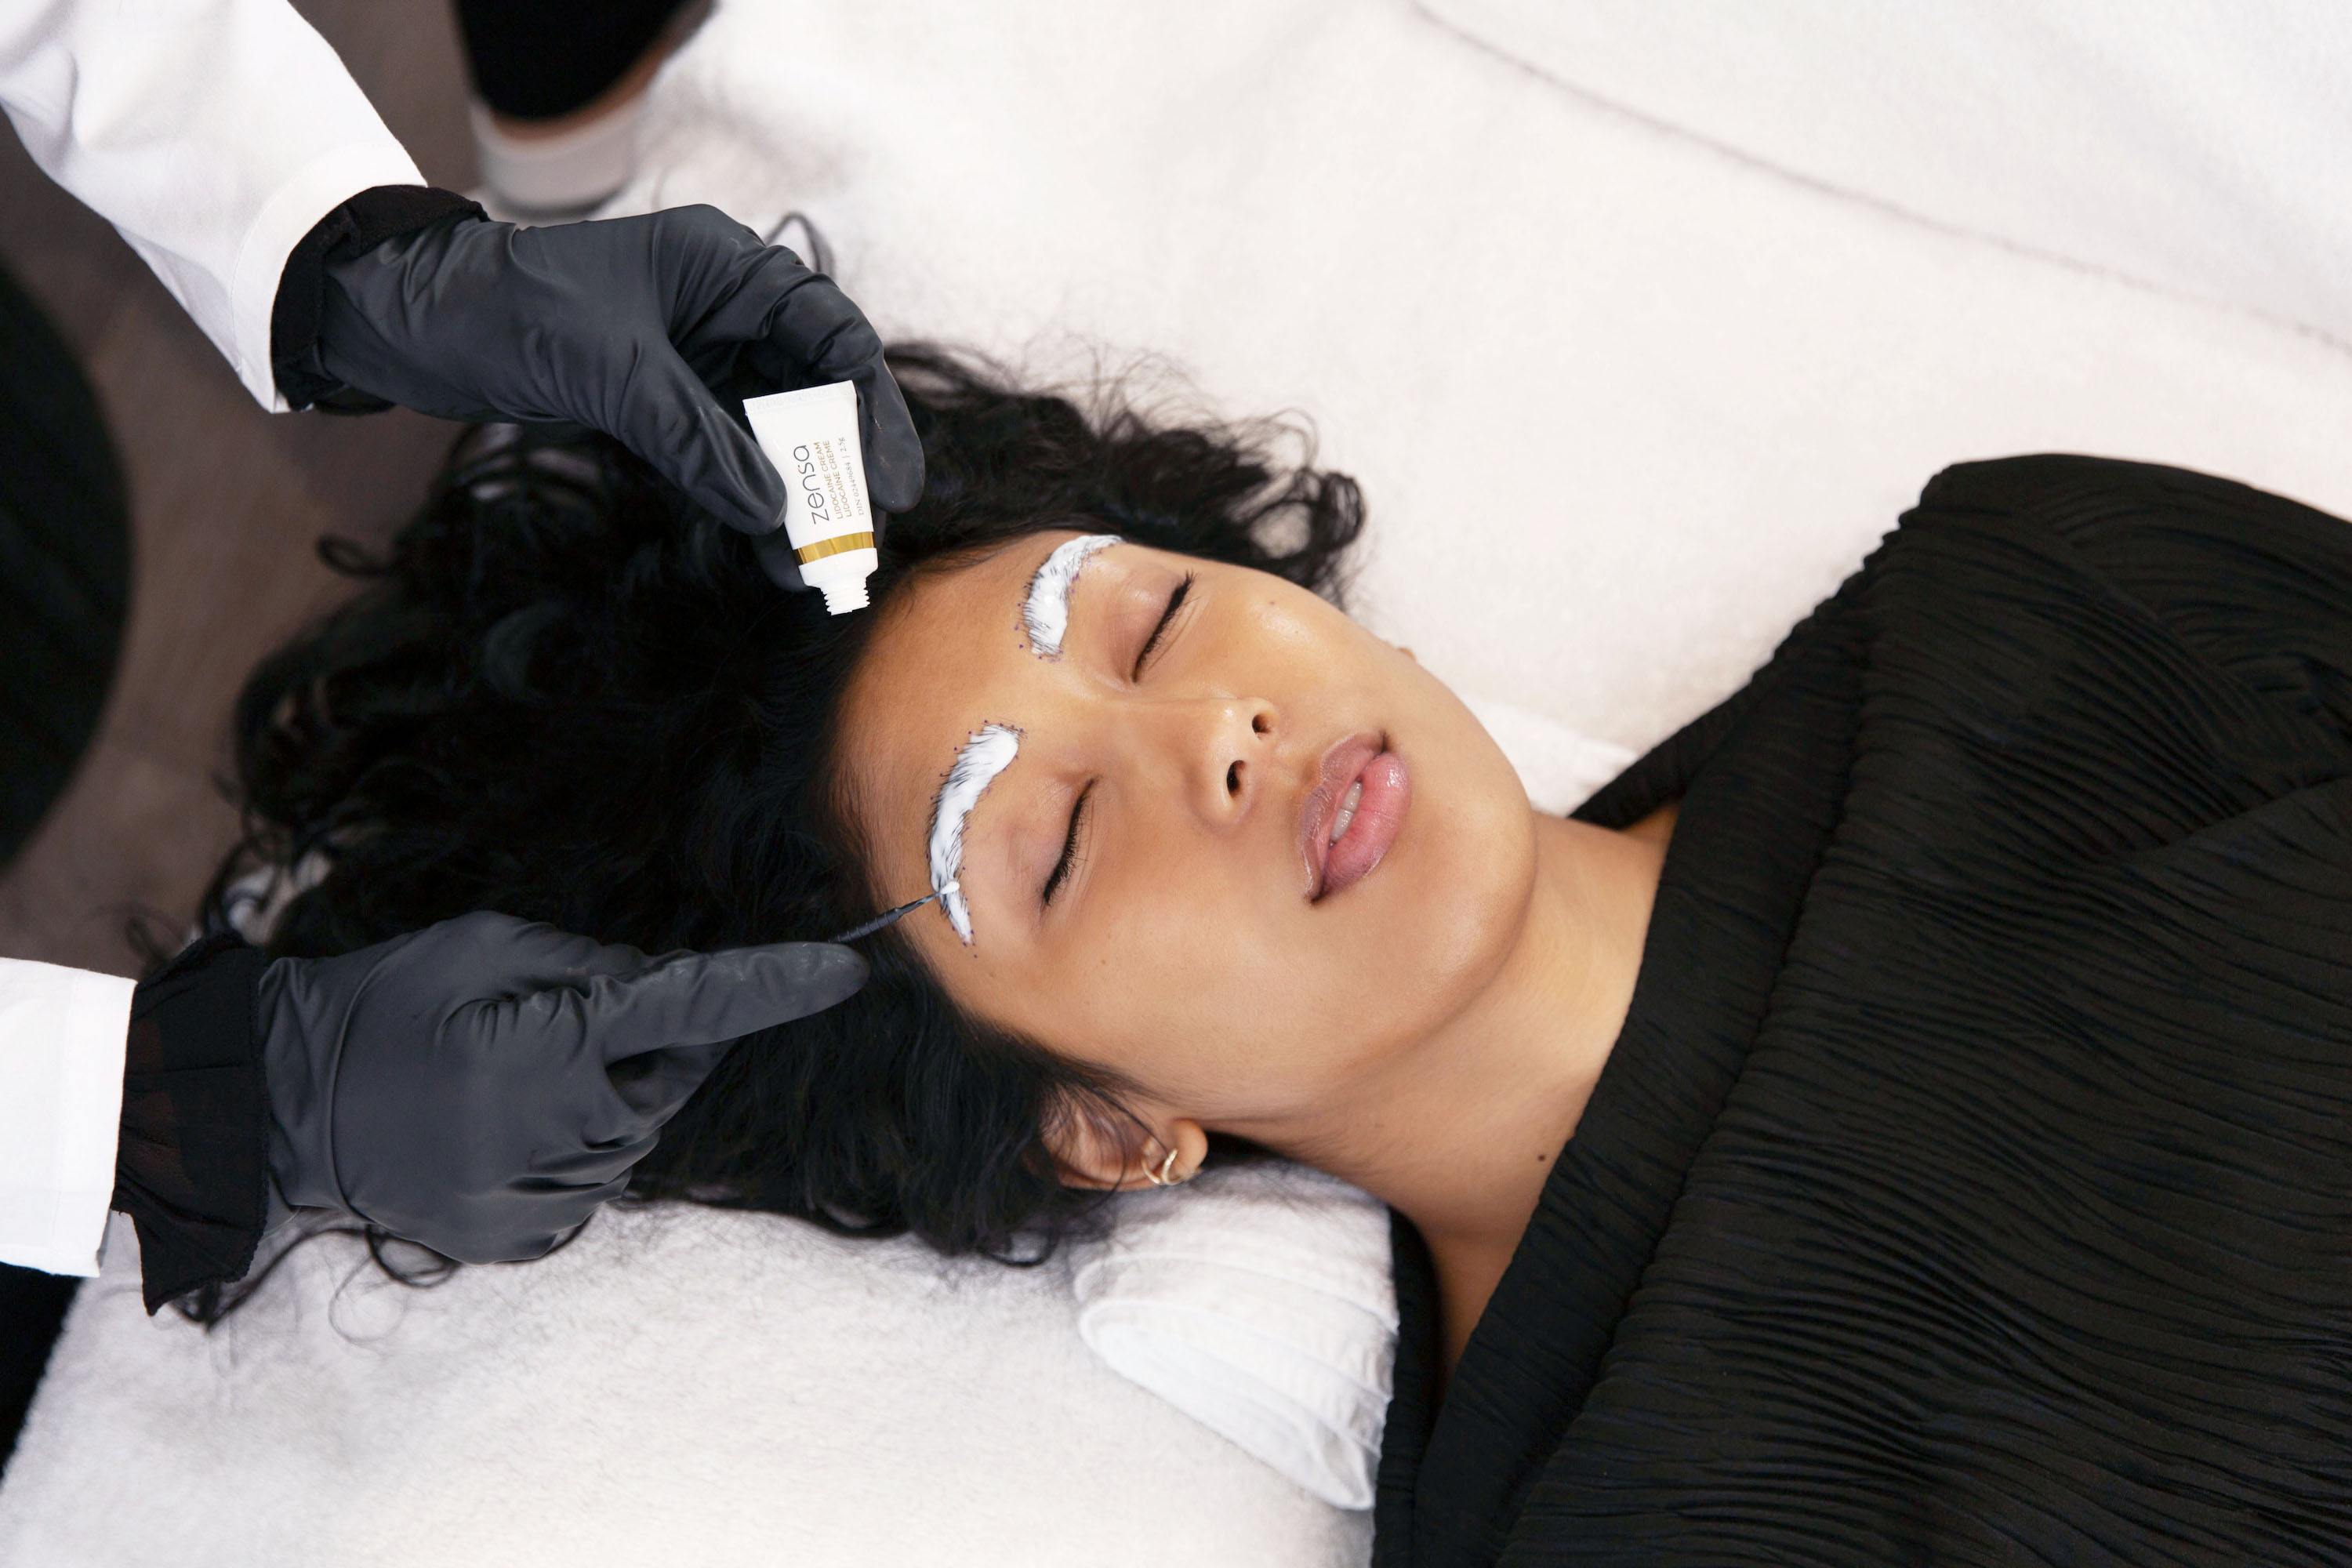
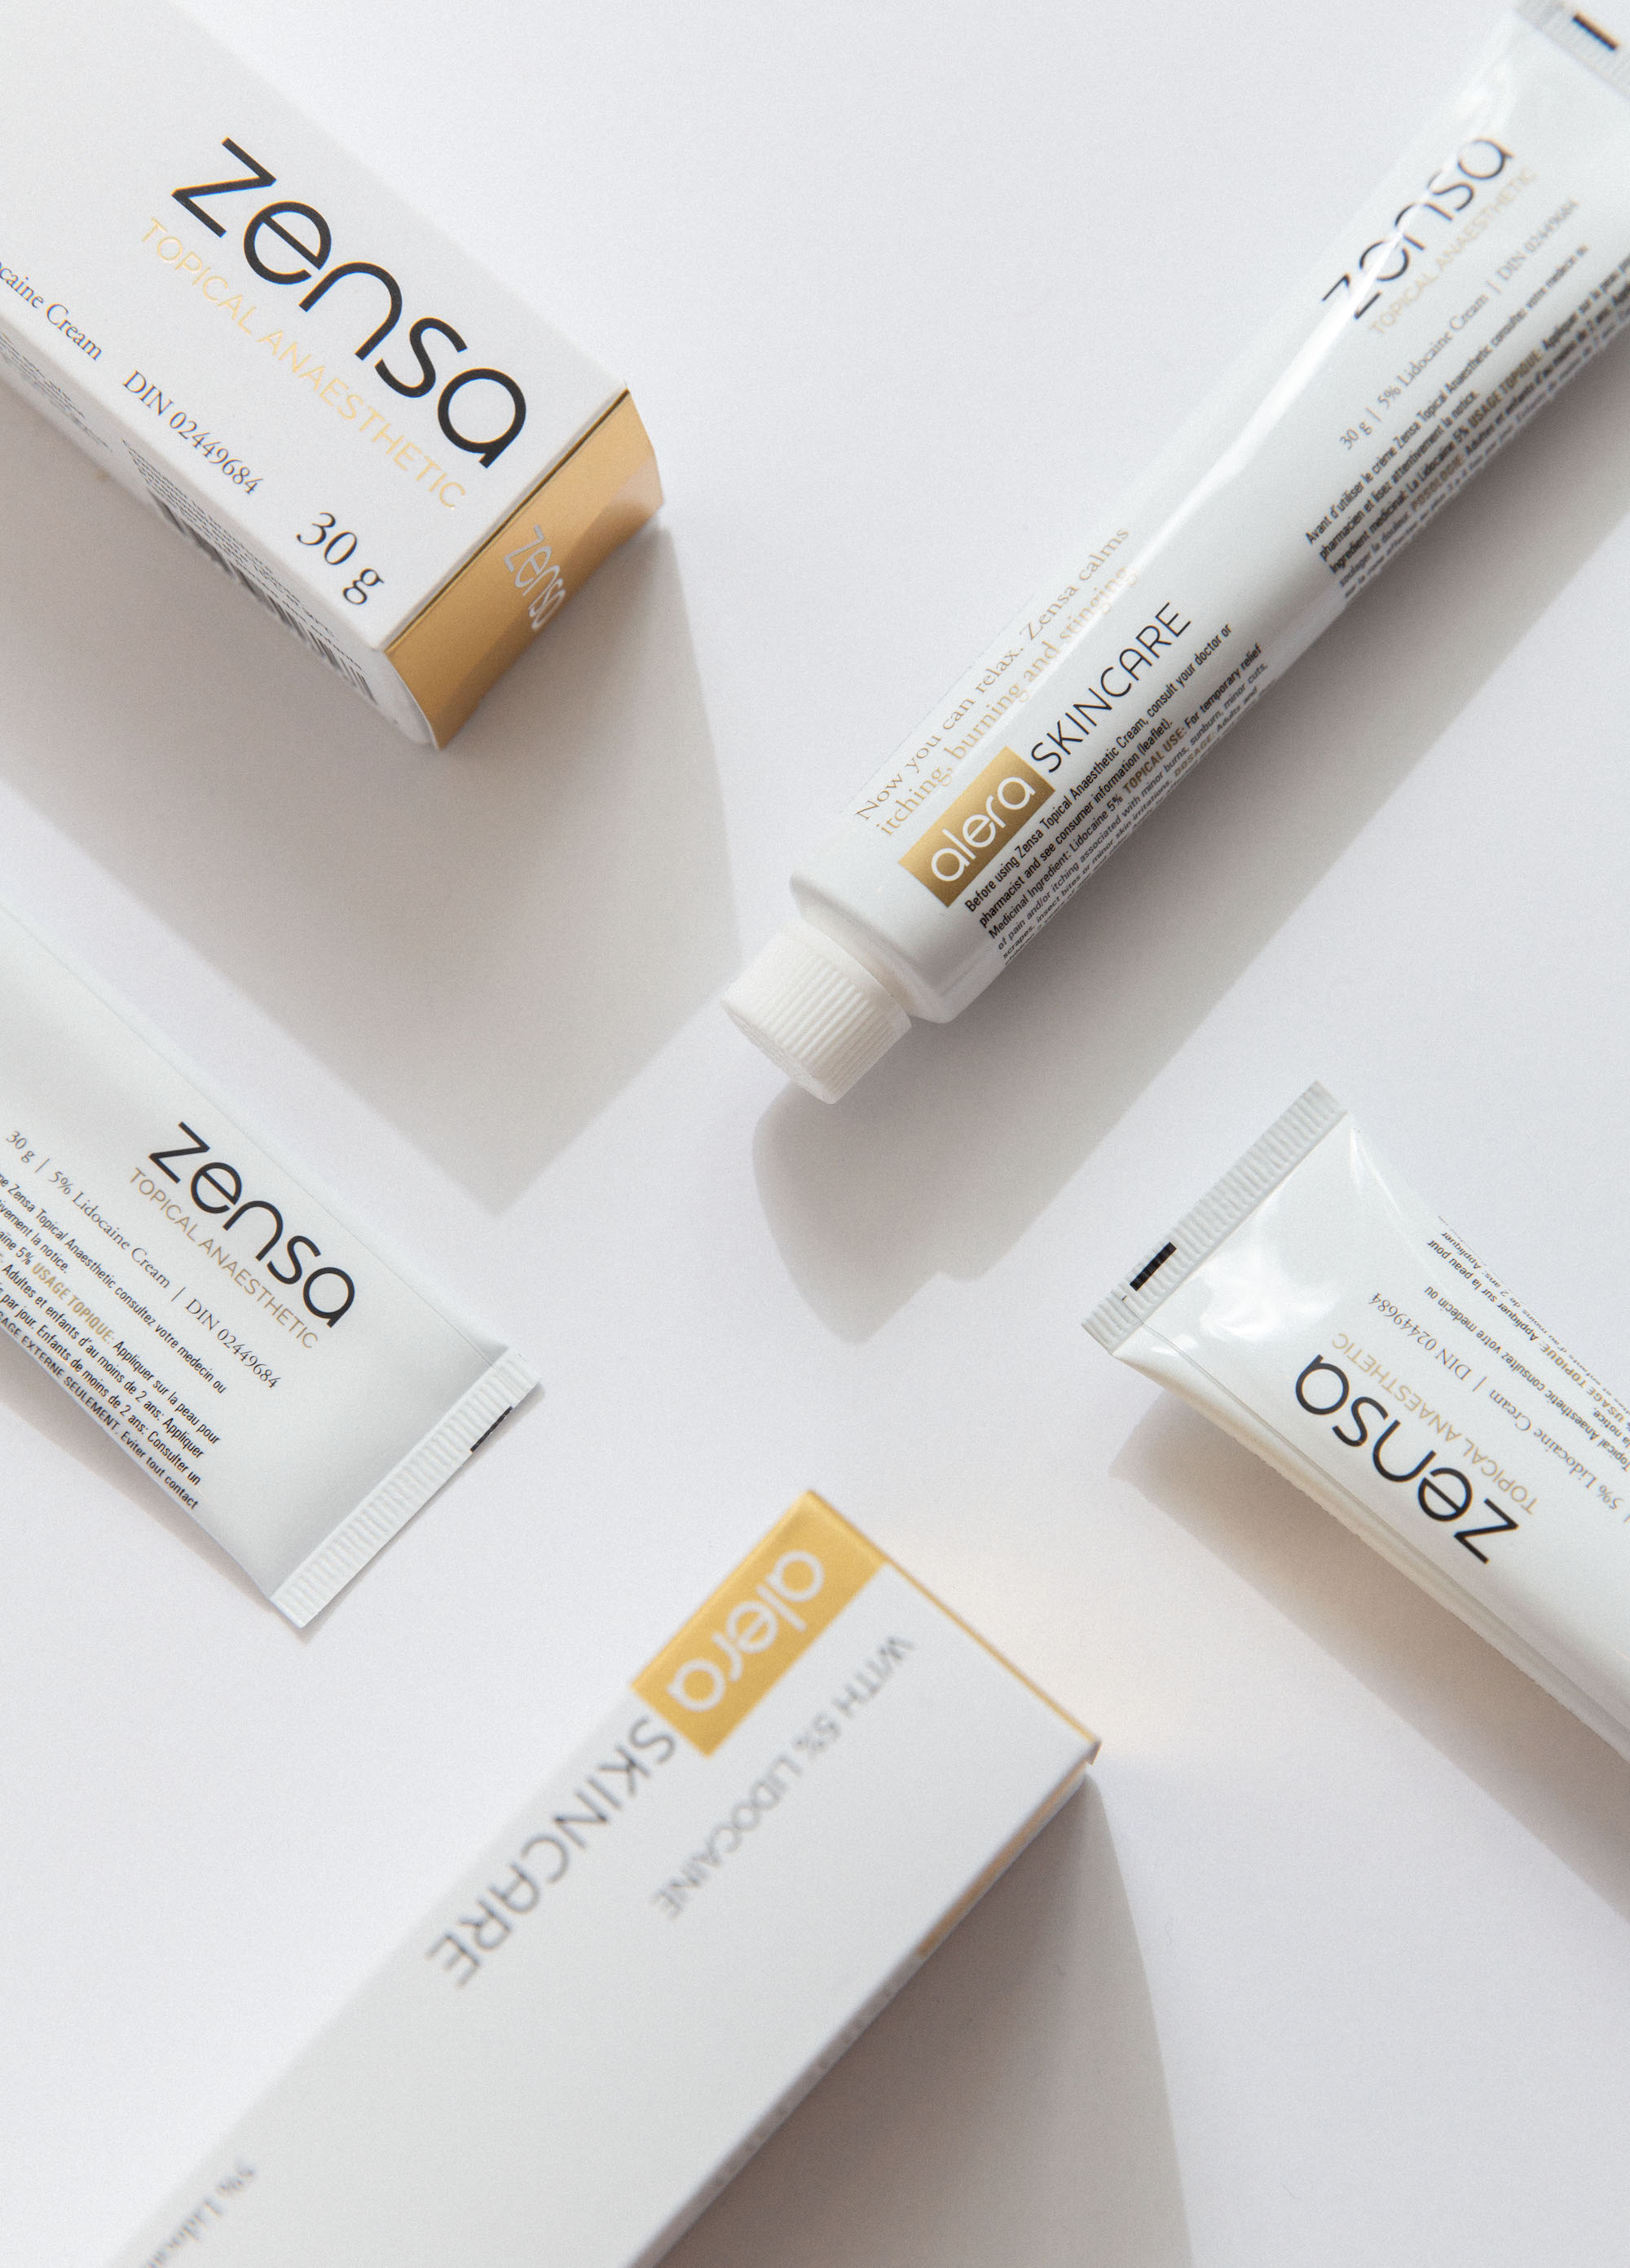
After finalizing your specifications, a numbing cream will be applied to your brows and left to set for around 30 minutes. Zensa Numbing Cream offers a vegan, cruelty-free option with 5% lidocaine for maximum strength to prevent pain during the procedure. “We often see clients become so relaxed that they fall asleep during the procedure!” Shaughnessy Otsuji said to Hypebae when speaking about using Zensa Numbing Cream for microblading and nano brows treatments.
The tattooing session itself should take approximately 60 minutes. When using a product like Zensa Numbing Cream, you should feel relatively little pain and likely will feel a slight sensation as the needles inject ink strokes into your brows. Don’t worry if you hear a scratching sound during the procedure. While unsettling, this experience is completely normal.
When the treatment is done, your brows will initially appear darker than you expect. Like with any tattoo, the ink is the most saturated right after it’s completed. For the first 7-10 days, the ink will appear approximately 40% darker than your final results.
While numbing creams should provide some post-appointment relief (for example, Zensa’s numbing effects should last for 2-3 hours total), you might experience some soreness and irritation following your microblading treatment.
Best Aftercare Practices
Proper aftercare is essential to allow your skin to heal and preserve your brows sharp, defined look. While there are general best practices, make sure to listen to your microblading technician and follow their expert instructions diligently.
To minimize scabbing, lightly dab your microbladed brows with some water using a cotton pad or ball a few times for the remainder of the day. This practice will keep the area clean and remove any excess pigment.
During the first week, your brow area is most vulnerable to irritation and might appear slightly red or bruised. During this period, you should gently cleanse the area twice a day. In the morning and at night, take a mild antibacterial soap, like Cetaphil, with water to lightly wash the area. Always remember to wash your hands before touching your freshly-inked brows, ensure that all the soap is washed off and lightly pat the area dry. Do not use any exfoliants or acid-containing cleansers. Cleaning the area will not remove any pigment.
After cleansing, follow up this step by applying an aftercare balm onto your dry brows. Use a moisturizing product, like Zensa Healing Cream, to keep the area soothed and reduce itching or redness and minimize scarring as scabs start to form. Zensa Healing Cream is vegan, cruelty-free and steroid-free. One of the product’s main ingredients is sunflower seed oil, which won’t impede ink settling and helps to maintain the ink’s vibrant hue. It contains cucumber and shea butter to calm and hydrate the area with calendula and grapefruit seed oils to reduce irritation and promote healing.
During the first week to 10 days, avoid exercising, saunas, long and steamy showers or any sweat-promoting activity. When you sweat or are in hot water, your pores open to cool your body off – leaving your freshly-bladed brows susceptible to a bacterial or fungal infection. You should also stay out of direct sunlight and avoid swimming for 10 days. Make sure to use a fresh pillowcase after your microblading session, too.
While surface-level, these skin tears are wounds that need delicate care to properly repair. Avoid picking, scratching or using any type of makeup and other skincare products (especially those containing retinol or glycolic acid) on your brows for at least two weeks after microblading.
After 14 days, you can feel free to start exercising, taking long, hot showers, wearing makeup and doing other normal activities again. However, you will want to refrain from scheduling any chemical peels, laser treatments or reincorporating your retinol or glycolic acid-containing skincare products back into your routine. These practices should all be avoided until after your follow-up appointment, that you should schedule for 6-8 weeks after your initial microblading session.
Over this period, your brows should’ve undergone the following phases: too dark, scabbing, loss of colour and colour revival. The colour will initially start to ‘disappear’ once the scabbing begins because the healing skin will be covering the pigment. Once these wounds heal, the colour will ‘reappear.’
Scheduling A Follow Up
Professionals often consider microblading to be a two-session procedure for a reason. After 6-8 weeks, you should have a follow-up appointment scheduled to touch up. You want to ensure that your brows have undergone the full healing process before scheduling this second session.
During your follow-up, your technician will touch up any areas that might have faded or become misshapen during the healing process. These modifications include adding any additional pigment or redefining and reshaping parts of your brows.
If it seems like the ink will not properly settle in certain areas, many experts will use microshading (a less invasive technique typically using an electric version of a microblading tool to inject small doses of pigment into the skin) to fill in this portion of the brow.
The entire follow-up session should take approximately an hour. Typically, the healing process after a follow-up appointment takes about a month and most of the aftercare protocols or restrictions only last 1-2 weeks. You will need to avoid exercising, saunas, long or steamy showers, makeup and sun exposure for approximately a week. While out of caution, it's best to wait several weeks for laser treatments or using any retinol-containing skincare, speak with your specialist about your specific timeline recommendations.
Microblading Quick Facts & Eligibility
Microblading services will cost between approximately $500-$2,000, with both sessions typically included. The cost of your microblading experience depends on your artist’s location, experience and expertise level. Individuals with botox or visible redness on their brows, who are pregnant and nursing, have autoimmune diseases, HIV or undergoing chemotherapy treatments are not eligible for microblading.
You also should avoid microblading if you have a thinner skin texture, managing acne, eczema or have any similar skin condition. If you have very oily skin, it is advised to try nano brows instead of microblading. Unlike microblading, nano brows are a semi-permanent tattooing treatment that uses an ultra-slender, flexible single nanoneedle tool to inject pigment into and create strokes that are nearly indistinguishable from your natural hairs. Nano brow treatments tend to wear better between more infrequent touch-ups. Read more on nano brows here to see which treatment is best for you.
